Morro CacheDrive Quick Start Guide
Two Ways to Set Up Your Morro CacheDrive
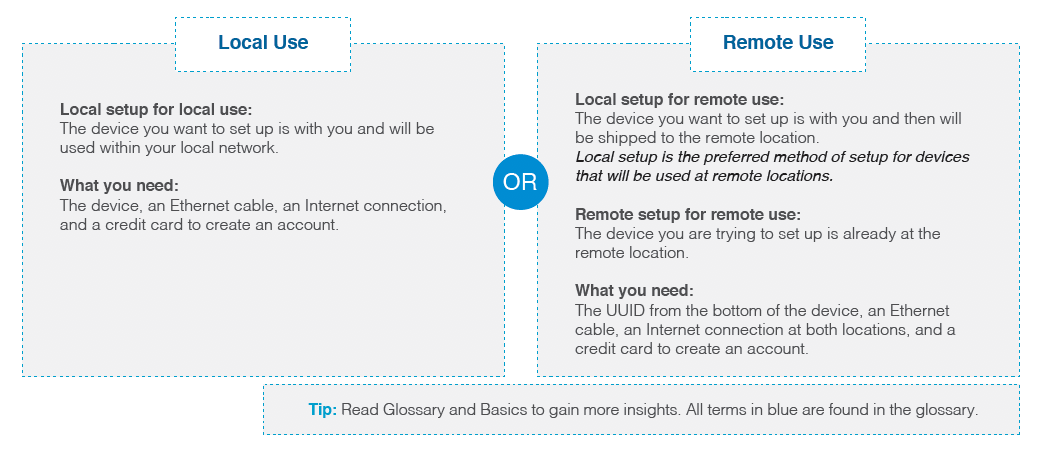
1) Set Up the Hardware
• Connect the gateway to the local network with Internet access. The gateway should be on the same LAN segment as the client used to create the account in Step 2.• Press the power button to power on the device and wait for five minutes.
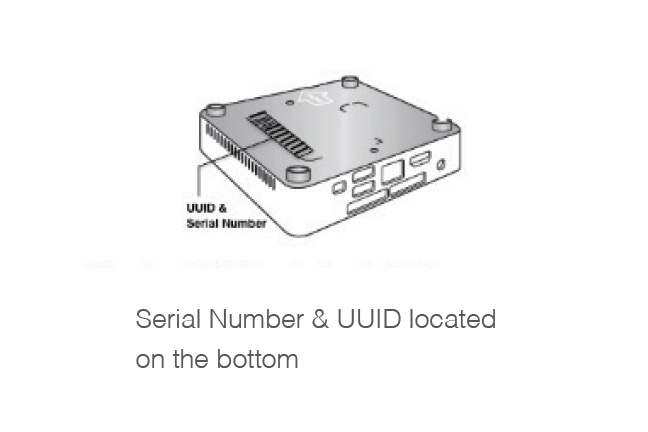
• For remote setup, the UUID at the bottom of the unit will have to be manually entered when adding a device already at the remote location.
Choose Hardware
Step 1
Connect the gateway to the local network with Internet access. The gateway should be on the same LAN segment as the client used to create the account in Step 2.
Step 2
Press the power button to power on the device and wait for five minutes.
Step 3
For remote setup, the UUID at the bottom of the unit will have to be manually entered when adding a device already at the remote location.
Step 1
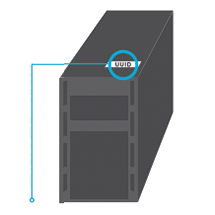
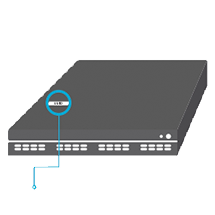
Locate Serial Number & UUID
The serial number and UUID are located on the top. Keep a copy of the UUID and serial number to install your gateway or for technical support.
The serial number and UUID are located on the top. Keep a copy of the UUID and serial number to install your gateway or for technical support.
Step 2
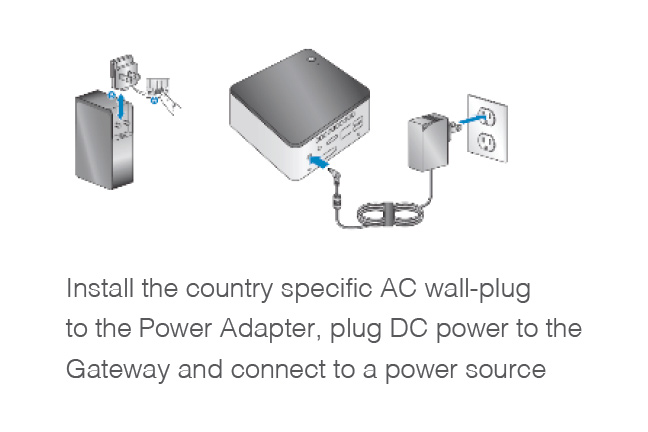
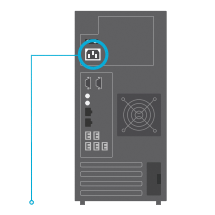
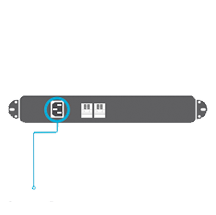
Connect Power
Connect to the power supply on the gateway and to a power source.
Connect to the power supply on the gateway and to a power source.
Step 3
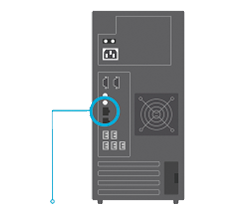
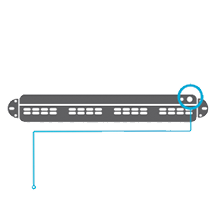
Connect Network Cable
Connect to a local network with Internet access. The gateway should be on the same LAN segment as the client used to create the account.
Connect to a local network with Internet access. The gateway should be on the same LAN segment as the client used to create the account.
Step 4
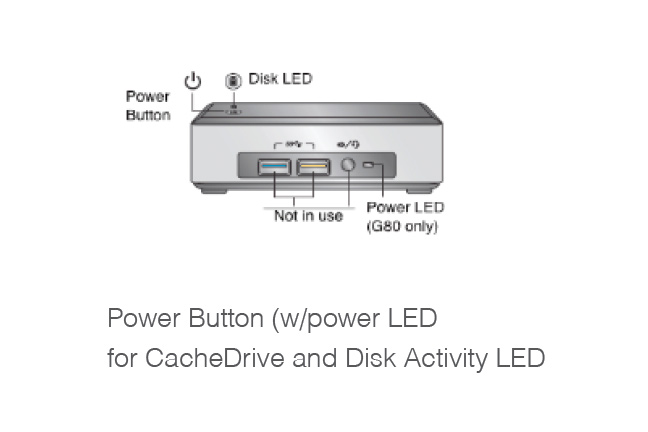
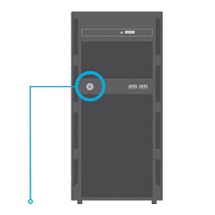
Power On Gateway
Press the power button to power on the device and wait for five minutes for the initialization process to complete.
Press the power button to power on the device and wait for five minutes for the initialization process to complete.
Step 1
Locate Serial Number & UUID
The serial number and UUID are located on the top. Keep a copy of the UUID and serial number to install your gateway or for technical support.
The serial number and UUID are located on the top. Keep a copy of the UUID and serial number to install your gateway or for technical support.
Step 2
Connect Power
Connect to the power supply on the gateway and to a power source.
Connect to the power supply on the gateway and to a power source.

Step 3
Connect Network Cable
Connect to a local network with Internet access. The gateway should be on the same LAN segment as the client used to create the account.
Connect to a local network with Internet access. The gateway should be on the same LAN segment as the client used to create the account.
Step 4
Power On Gateway
Press the power button to power on the device and wait for five minutes for the initialization process to complete.
Press the power button to power on the device and wait for five minutes for the initialization process to complete.
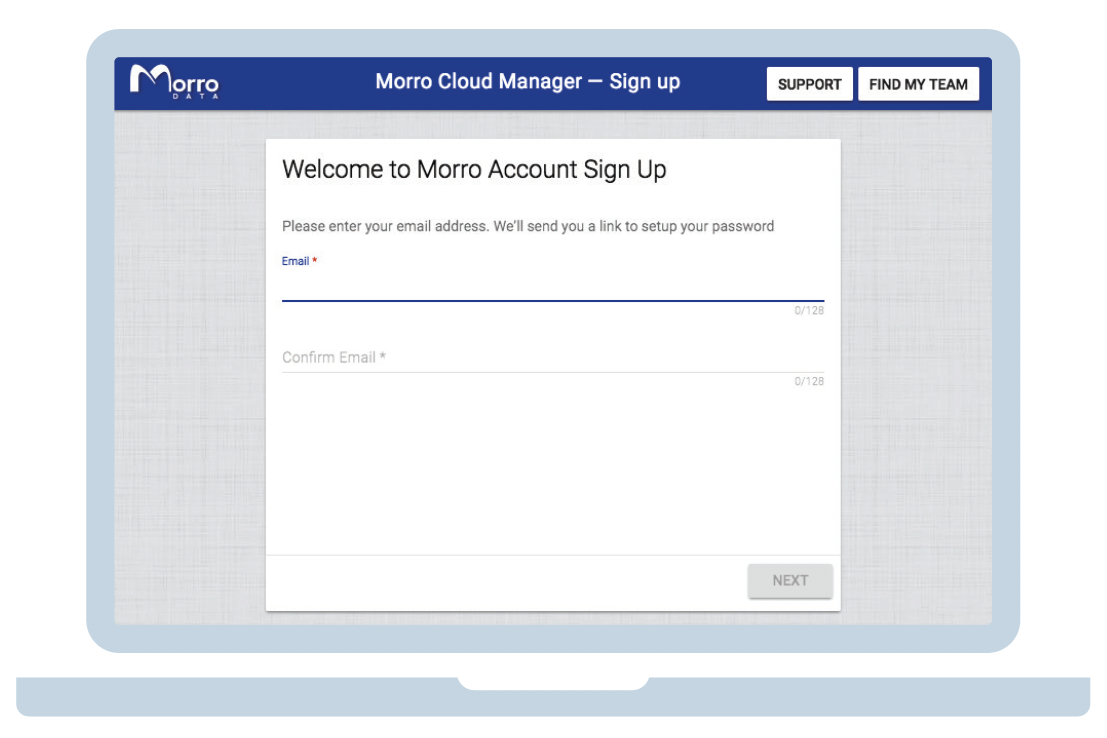
2) Create an Account
Sign up for a Morro Cloud Manager account at: https://account.morrodata.com
NOTE: R1100 requires an Enterprise or higher subscription
Follow the step-by-step process for creating an account.
During the sign-up process you will need to:
- Provide an email address. The owner of the email address is automatically designated as the Business Administrator, which is a super-user for the account and will be responsible for managing billing.
- Add a gateway. If the gateway is on the local network, it will be automatically detected. If the gateway is already in the remote location, you will need the UUID from the bottom of the device. If the gateway is not automatically detected, choose “Locate by UUID” to locate the gateway manually.
- Choose your gateway name {gateway_name}. The name of the gateway is used to connect to the device as a network share.
- Choose a Team Portal url {team_portal}. The url is permanent and cannot be changed once the account is created.
- Provide a credit card and billing information. A valid credit card is needed for subscription billing.
3. Access the Network Share
Once sign-up is complete, you can access your team portal at: https://{team_portal}.morrodata.comThe following configuration is created by default in the Morro Cloud Manager:
Global File System – A storage pool called GlobalPool1 and a share under it called GlobalShare1 with guest access enabled by default.
Devices – A gateway named {gateway_name} will be created.
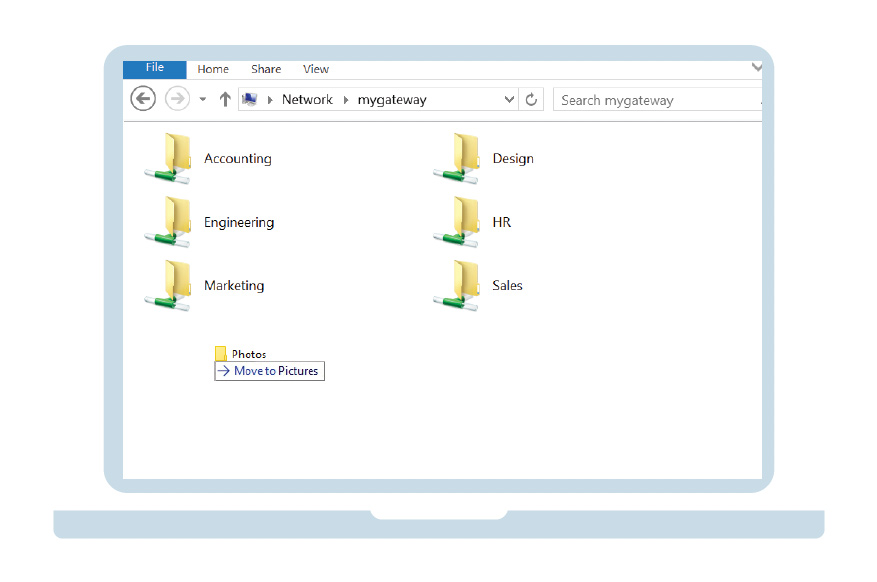
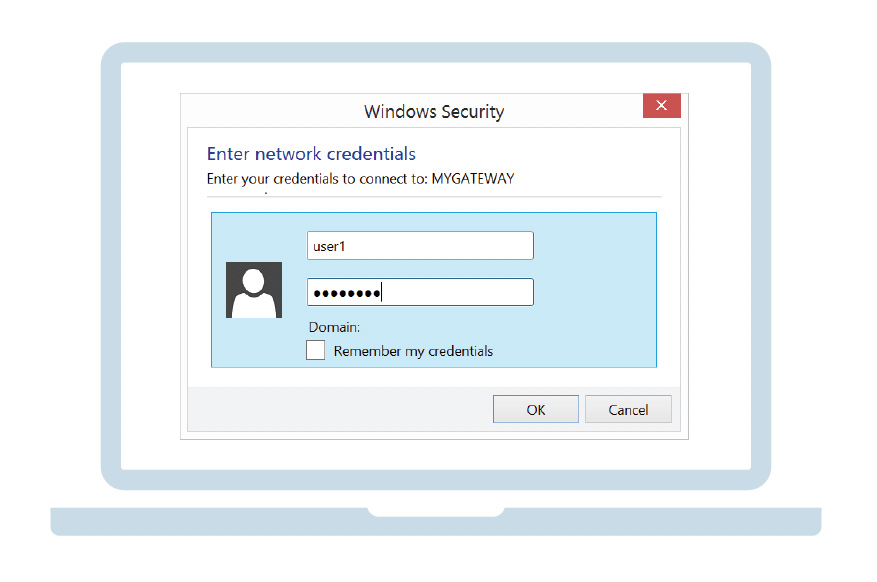
How to access a network share on the gateway:
Windows
\\{gateway_name}\GlobalShare1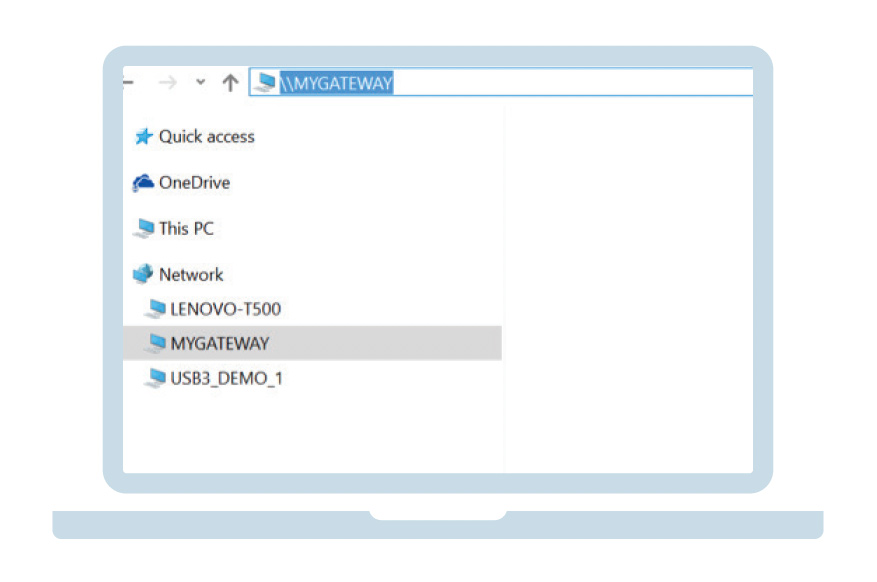
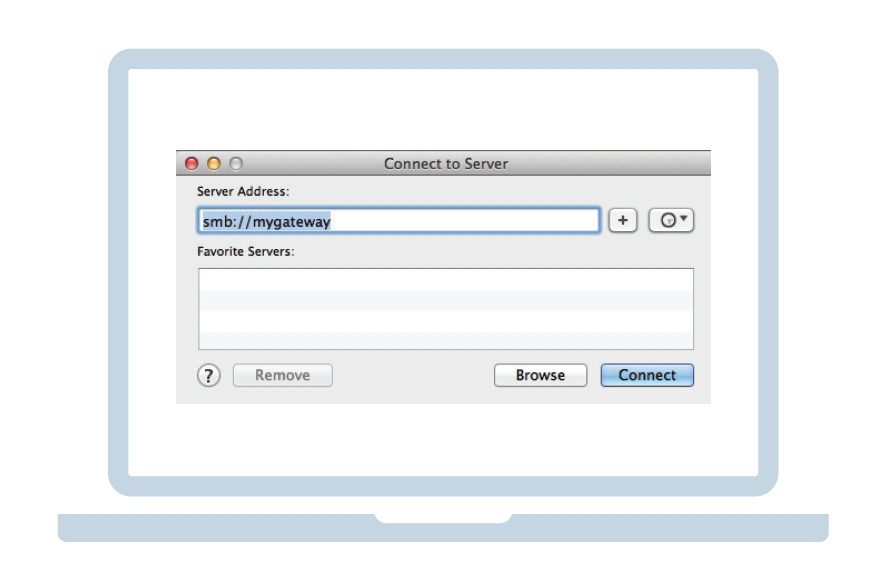
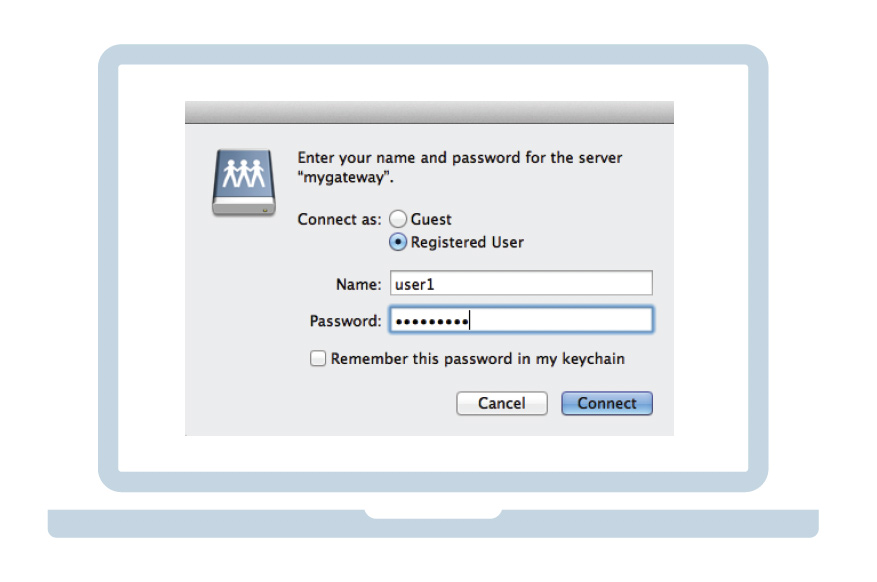
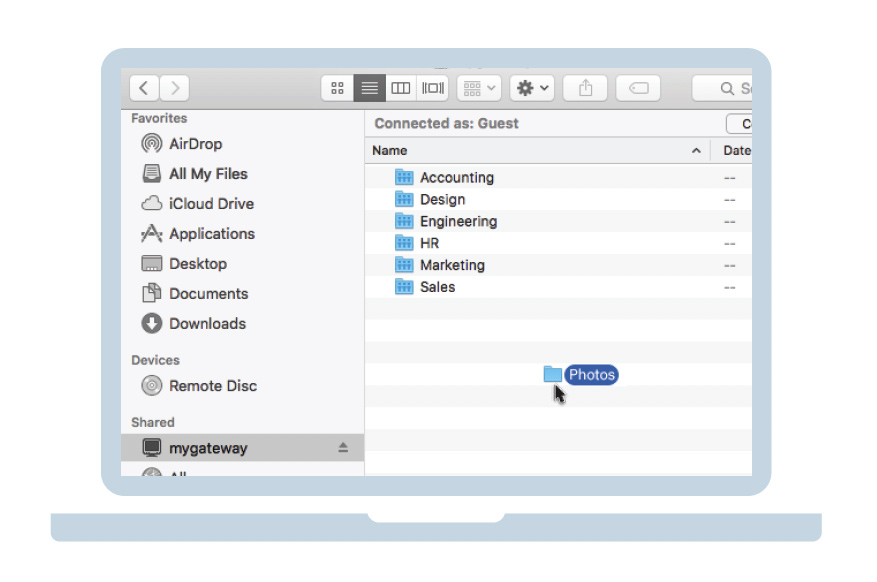
Mac OS
Finder -> Go -> Connect to serverServer Address smb://{gateway_name}/GlobalShare1
Click CONNECT and connect as guest
Web
Log in at https://{team_portal}.morrodata.comGo to files
Customize Your Solution
For customization, please log in to Morro Cloud Manager at: https://{team_portal}.morrodata.com • Devices: Add additional gateways for local or remote use.
• File System: Set up more shares and pools and manage permissions.
• Team: Add users and groups (each user will receive an account verification email).
• Apps: Option to set up ECHO and Slack.